Many books about painting will tell you to paint a small strip along the baseboards, doorways, trim and other edges of the room with a brush before breaking out the paint roller to paint the rest of the wall. But before you do this paintbrush work, called “cutting in,” consider paint expert Shauna Gallagher’s method: Roll paint on the wall and then use a paintbrush for the edge work. To learn more about this technique, watch as she paints the feature wall of a room.

Paint Faster 1: Houzz TV, original photo on Houzz
Watch a video tutorial here
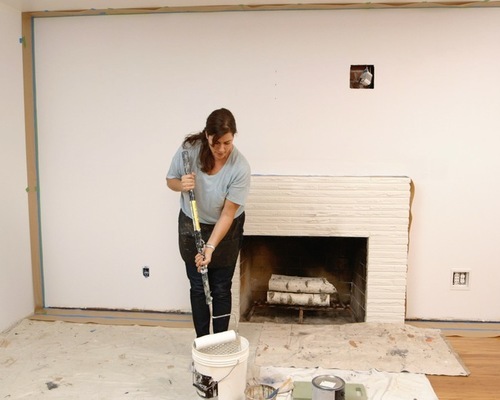
Step 1: Add Paint to the Roller
With a paint roller in hand, Gallagher dips her roller cover into the paint and then rolls it down the cage in the bucket to remove excess paint. She recommends rolling down and not up to avoid splattering paint out of the bucket. If you have excess paint on the edge of the roller, use a chip brush to wipe it off so it doesn’t drip on the wall.
Paint Faster 2: Houzz TV, original photo on Houzz
Step 2: Roll on the Paint
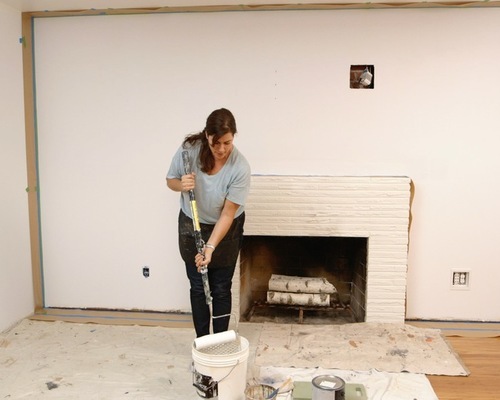
In rolling the paint on the wall, Gallagher uses vertical movements — rolling up and down as she moves across the wall — so she can glide right up against the taped-off edges. The paper-and-tape combo, which she applied to the wall’s edges with a tape gun, gives her extra protection against getting paint on the ceiling and adjacent walls.
Because she is painting a smooth wall with a thin roller cover, she can get closer than if she were painting a textured wall with a fluffy roller. Additionally, she rolls horizontally along the ceiling line to get even closer with the roller. She says she can roll paint within about 1 inch of her taped-off edges. If she would have cut in first, she says she might have painted a strip of 5 to 6 inches with a paintbrush.
“You are looking at a huge time savings if you roll paint first,” she says. “It might be 1½ hours versus 25 minutes.”
As she rolls, she keeps the arm of the roller on the side of the direction she is traveling across the wall. She is going from left to right, so the arm is on her right side. She uses this method because a small line of paint forms on the edge, and she can pick up that extra paint and spread it out as she goes.
Keep a Hamper Nearby for Messy Rags
After she completes a section, Gallagher lightly goes over the wall again, this time rolling only downward, to remove any roller lines and give the paint an even finish.

Paint Faster 3: Houzz TV, original photo on Houzz
Step 3: Paint the Edges
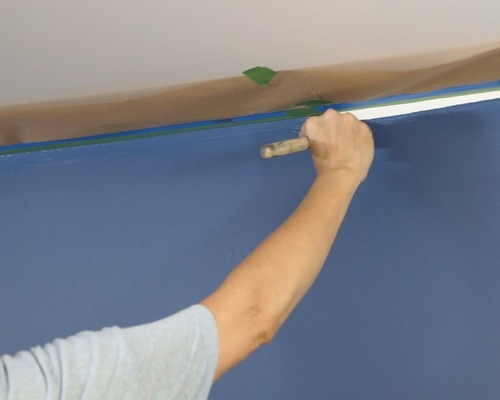
Once you have rolled paint on as much of the wall as possible, fill in the unpainted areas with a paintbrush. Because she rolled paint close to the wall’s edges, Gallagher can make quicker work of the cutting-in step of her project.
For this step, she dips her paintbrush into the paint and then removes paint from one side of the brush by wiping it along the edge of the can. She uses this side of the brush as she paints along the taped edge. Applying less paint to the taped edge keeps the taped line crisper, she says, and prevents paint from squishing up into the corner.

Paint Faster 4: Houzz TV, original photo on Houzz
Step 4: Remove the Tape
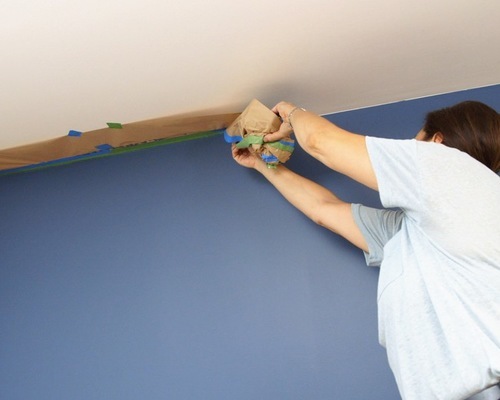
After painting, Gallagher waits until the paint is just dry before methodically removing the tape. She recommends putting your hands close to the wall and pulling the tape at a 45-degree angle.
“When you are farther away, you are yanking on the tape a little more,” she says. Her technique helps keep paint from pulling away from the wall.
When you are done, you can step back and admire a wall that you painted in a fraction of time, thanks to the reverse method.
Next Up: How to Paint Kitchen Cabinets Like a Pro
By Brenna Malmberg, Houzz
 Facebook
 X
X
 Pinterest
 Copy Link


