When I say “punch” a house, I’m not talking about putting holes in your drywall. I’m referring to the writing of the “punch list,” which is created at the very end of a project and details any outstanding items that need to be taken care of.
Punch lists are usually made continuously by your construction manager throughout the project to avoid a lengthy list at the end of the project. However, the time when homeowners are involved is usually toward the end, right around the time when you’re able to use your newly remodeled space again. The punch list ensures that both you and your building professional agree that the project is completed. Typically, a signed-off punch list also ensures that the builder will be paid any remaining money owed by the homeowner, so this goes hand in hand with both parties agreeing that the project is complete.
It’s important to keep track of any items you find by adding them to a punch list as well as noting them throughout the house with a small piece of painter’s tape (not duct tape or electrical tape, which could damage finishes). This makes it easier on your memory as well as on your contractor. No one has to go hunting for that one corner with the ding in the drywall.
Punch lists are normal for almost all contractors. No matter how much protective product your remodeler lays down, no matter how good the painters and plumbers and trim carpenters are, there is bound to be at least one thing that will need to be taken care of at the end of the day. And, just like nearly every other aspect of remodeling and home building, how your building professional will resolve punch items varies based on where you live, what type of work your contractor is doing, how big the firm is and so on.
Be sure to check out your contract (take a look at any sections containing the words “substantial completion,” “inspection” or “warranty”) for information on how your contractor handles these issues. If you’re still unsure about issues such as costs associated with punch lists, how quickly punch items are resolved or whether anything is too small to punch, clear the air by having a conversation with your contractor.

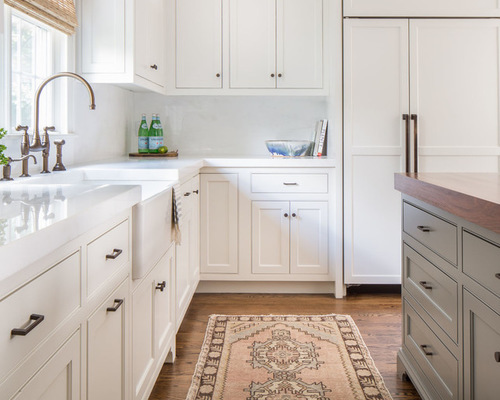
Punch List 1: Jamie Keskin Design, original photo on Houzz
Paint
Let’s start with paint. Mistakes involving paint are typically the easiest for homeowners and pros to spot, primarily because paint is so aesthetic. If your walls are a different color than the one you selected, that should be pretty easy to pick up on.
However, there are other, smaller details that can be overlooked. One of my best painters once taught me to check the paint on woodwork with my hands instead of my eyes.
Walk up to your trim and cabinetry, look the other way and run your hand over it. Is it rough or bumpy? Can you feel any blemishes, paint drops or brush strokes? Does the finish make you grimace? If you answer “yes” to any of the previous questions, add this to your punch list of “to-do’s.”
Keep your eyes open for sheen variances. Is one spot of the wall shinier or duller than the rest? Also, note any cut-ins. Is the paint line where the wall meets the ceiling straight?
Depending on how many paint punch items are found, the paint crew may have to touch up a couple of spots on a wall here or there, or it may need to repaint entire sections. Again, this all depends on your contractor. Repainting entire rooms could constitute a change order for some, while others see it as a warranty item. Communication is key in determining where your builder stands on these issues.

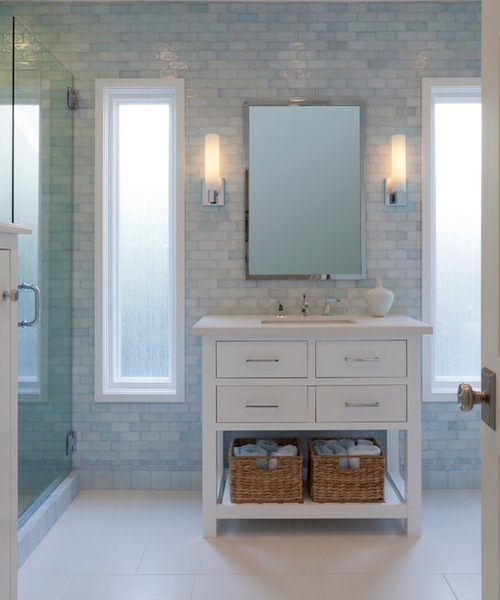
Punch List 2: Rafe Churchill: Traditional Houses, original photo on Houzz
Sheetrock
Sheetrock (also known as tape, bed and texture) is another aesthetic finish that can be pretty easy to punch (both in the punch list sense and in the physical sense).
One of the best tips I’ve learned is that Sheetrock is easiest to punch after the paint primer has gone up but before the actual paint color hits the walls. Dings, dips, crooked edges and texture inconsistencies stand out like a sore thumb.
So ask your construction manager whether you can stop by after primer is applied. With your blue tape handy, walk through the construction area and take a look. Turn the lights on and inspect texture. (Is it too heavy in some places or too light in others? If you selected a smooth texture, are there any bumps that stand out?) Take a look at wall corners. (Are they straight and square from bottom to top?) Scan walls and ceilings for scratches and dents.
I’ve got to take a second here to make a small point: I know that every part of your home is important and worth time and attention. But consider this: Is a ding in a bottom corner of a coat closet really worth the same as one at eye-level in a kitchen?
I’m not saying that your contractor shouldn’t put time and effort into making your house your dream home, but if you feel like you’re getting carried away with the blue tape, take a step back and reevaluate. I can promise you that your dinner guests aren’t going to get on their hands and knees and inspect the Sheetrock in the corner of your pantry. And if they do, that’s another conversation entirely.

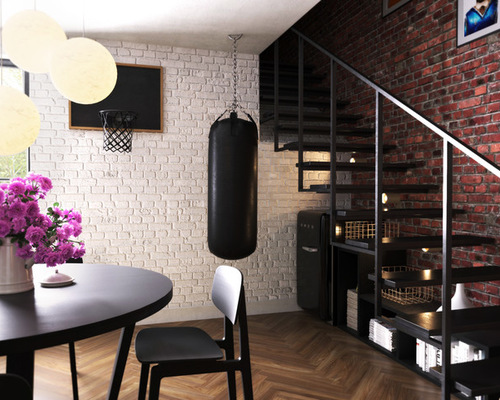
Punch List 3: Lauren Jacobsen Interior Design, original photo on Houzz
Tile
Like paint, tile can be inspected by sight and touch. Take a minute to make sure that everything looks flat and level, and that grout lines stay a consistent size. Then, if the tile is on the floor, take your shoes and socks off and walk around to make sure everything feels nice.
A creative tip I picked up from a homeowner is to walk throughout the house bouncing a tennis ball. Anywhere the ball hits the tile and makes a hollow sound is a place you’ll want to tag with tape. Tiles that aren’t well-secured will sound hollow and could lead to cracks or loose tiles in the future. Whether you do it during the punch phase or later when the tiles come loose or crack, the tiles will need to be replaced.
I’ve worked with several customers who decide that a loose tile in a corner somewhere isn’t worth the effort. I’m not saying to just throw in the towel on little things like a loose tile, but in the end, it is your house. If you don’t want anyone coming back to fix it and you can live with it, that’s perfectly fine too.

Punch List 4: Best Builders ltd, original photo on Houzz
Electrical, Audio and Video
Punching electrical, audio and video work is a lot less visual than some of the other finishes we’ve covered so far. With electrical and A/V, you’ll want to turn everything on and off. And then turn it on and off again. And then do this one more time.
Then, turn everything on and leave it on for a while. (This makes sure that lights don’t “freak out” when they’re on for extended periods of time.) Next, test the dimmer switches to make sure they dim correctly. Dimmers that aren’t properly paired to the lighting source can cause flickering. (Strobe lights can be cool, just not in your kitchen.)
If you really want to go above and beyond, test to make sure all the outlets are functional, and press the buttons on the GFI outlets — the outlets in wet areas like bathrooms or kitchens — to ensure that they trip (cut off the electricity) as they’re supposed to.
For appliances, make sure you have all the pieces that came with them and the warranty materials (all that paperwork that comes in the box). This is super important, as having the warranty information will be useful for any service you may need for your appliances in the future.
As with all other punch items, mark them with blue tape (if you can reach them; no need to strain yourself to put tape on a flickering can light in a 20-foot ceiling) and add them to your list.

Punch List 5: Kasper Custom Remodeling, LLC, original photo on Houzz
Plumbing
Like electrical, plumbing isn’t the easiest to check visually. There are a few things you can see, like scratches in the finish or straightness of plumbing fixtures, but there’s a lot behind the scenes that might only come to surface after use.
Turn on your hot water and let it run to make sure it gets hot, and turn on the cold water to make sure it stays cold. (It’s not unheard of to have the cold and hot switched.)
Plug your sink, fill it to the top and then drain it. This tests two things: 1) that the drain stopper works and 2) that there aren’t any leaks in the plumbing under the sink. The added pressure of all of the water leaving the sink at once tests the plumbing in a way that a normal stream of water can’t. You can do the same thing in your bathtub. Another good test for a tub is to fill it up to the overflow hole to make sure the overflow is connected properly.
With mechanical punch items such as plumbing and electrical, it’s likely that your building professional will try to lump all the punch items into one visit. This saves money and time. So if you notice that your toilet has hot water (it’s happened!) or a bulb in a closet is flickering and it’s not being attended to immediately, fear not! Your contractor may just be making sure to have a comprehensive list before calling in the cavalry to get it fixed.
Punch List 6: Decotick, original photo on Houzz
I know this all may sound like a lot of work. You may be thinking, “Isn’t this why I hired a general contractor or full-service builder in the first place?” And you’re absolutely right. But it’s my experience that homeowners like to get in on the action sometimes, and this is a great, productive way to do so.
Plus, everyone’s human. No matter how top-notch your remodeler or builder is, there is a chance (even if it’s just a .00001 percent chance) that something may be overlooked. Having a second set of eyes to make sure everything is up to their standards and yours doesn’t do anyone any harm. Now, get punching.
By Hannah Kasper, Houzz
 Facebook
 X
X
 Pinterest
 Copy Link


